Priyanka Tiwari
 Share
Share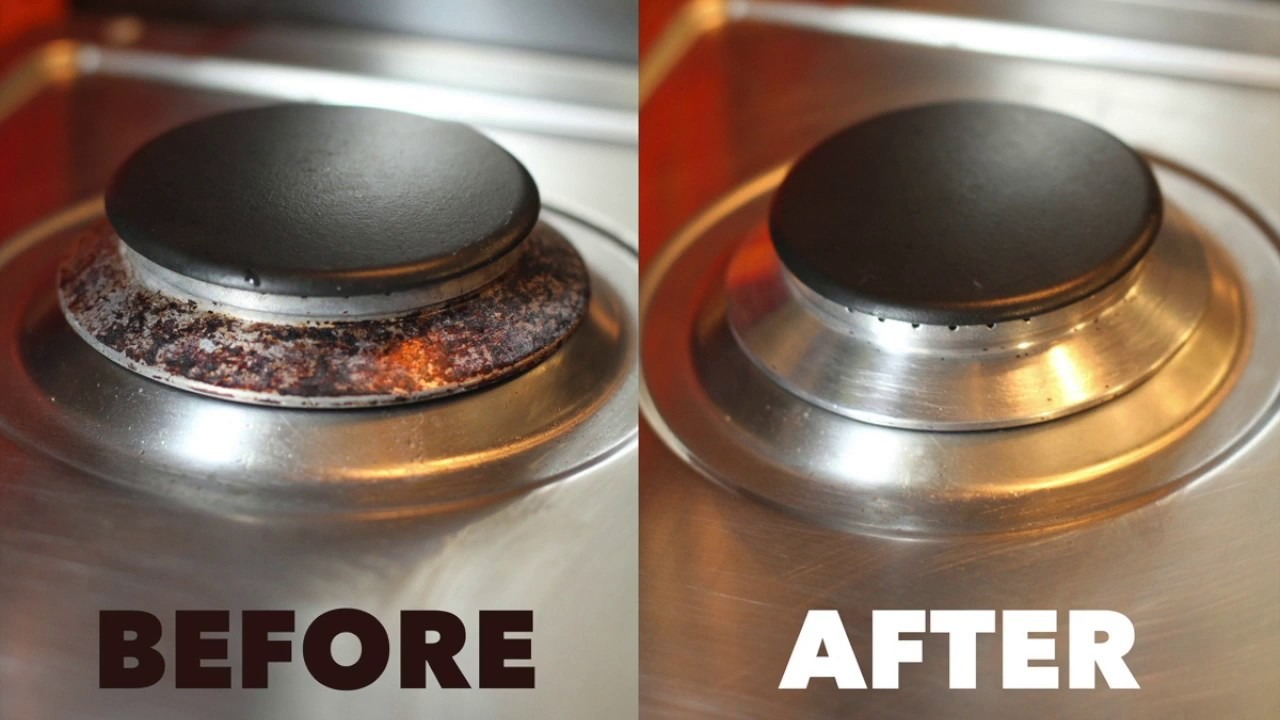
A clean gas burner supports efficient cooking and helps maintain a steady flame. Over time, grease, food spills, and residue can block the burner holes, affecting performance. Regular cleaning ensures better functionality and safety.
Step-by-Step Guide to Clean a Gas Burner
Step 1: Turn Off the Gas Supply
Always start by turning off the gas to avoid any accidental ignition. Wait a few minutes and make sure the burners are cool before proceeding.
Step 2: Remove Burner Parts
Detach the burner grates, caps, and heads from the stove. These parts are usually removable. If unsure, check the user manual. Place them in the sink or on a countertop.
Step 3: Wipe the Stove Surface
Use a cloth soaked in warm, soapy water to clean around the burner area. Remove any food particles, spills, or grease. Avoid abrasive tools that can damage the surface.
Step 4: Soak the Burners
Fill your sink or a large container with warm water and dish soap. Submerge the burner components for 15–20 minutes. This will help loosen grime and burnt food.
Step 5: Scrub Burner Components
Take a sponge or an old toothbrush to clean the soaked parts. Focus on cleaning the small holes in the burner heads using a toothpick or small brush. Rinse all parts thoroughly.
Step 6: Dry and Reassemble
Dry all parts completely with a clean towel or let them air dry. Moisture can affect ignition, so ensure everything is dry before putting the parts back in place.
Step 7: Test the Flame
Restore the gas supply and turn on the burner. Look for a strong, even flame. If there are any issues, repeat the process or consult a technician.
Maintenance Tip
Clean your gas burner at least once a month to keep it running efficiently. Regular cleaning prevents blockage and ensures proper flame output.